Programming Your Chamberlain Garage Door Opener – A Quick Guide
Having a hard time fixing your Chamberlain garage door opener? Don’t sweat, you’re in the right place. By the end of this blog post, you will be able to take control of your Chamberlain garage door opener and make your life a whole lot easier. No more fumbling for keys or dealing with clunky remotes. In this guide, we’ll walk you through the steps of programming your Chamberlain garage door opener with clear, concise instructions. Let’s find out what you’ll need to do:
Content
Gather Your Tools and Get Ready
Before diving into the nitty-gritty, ensure you have everything you need. Grab your Chamberlain garage door opener manual – it’s your trusty sidekick for this process. You’ll also need a ladder, a sturdy chair, and a touch of patience. Got everything? Perfect, let’s move on.
Locate the Programming Button
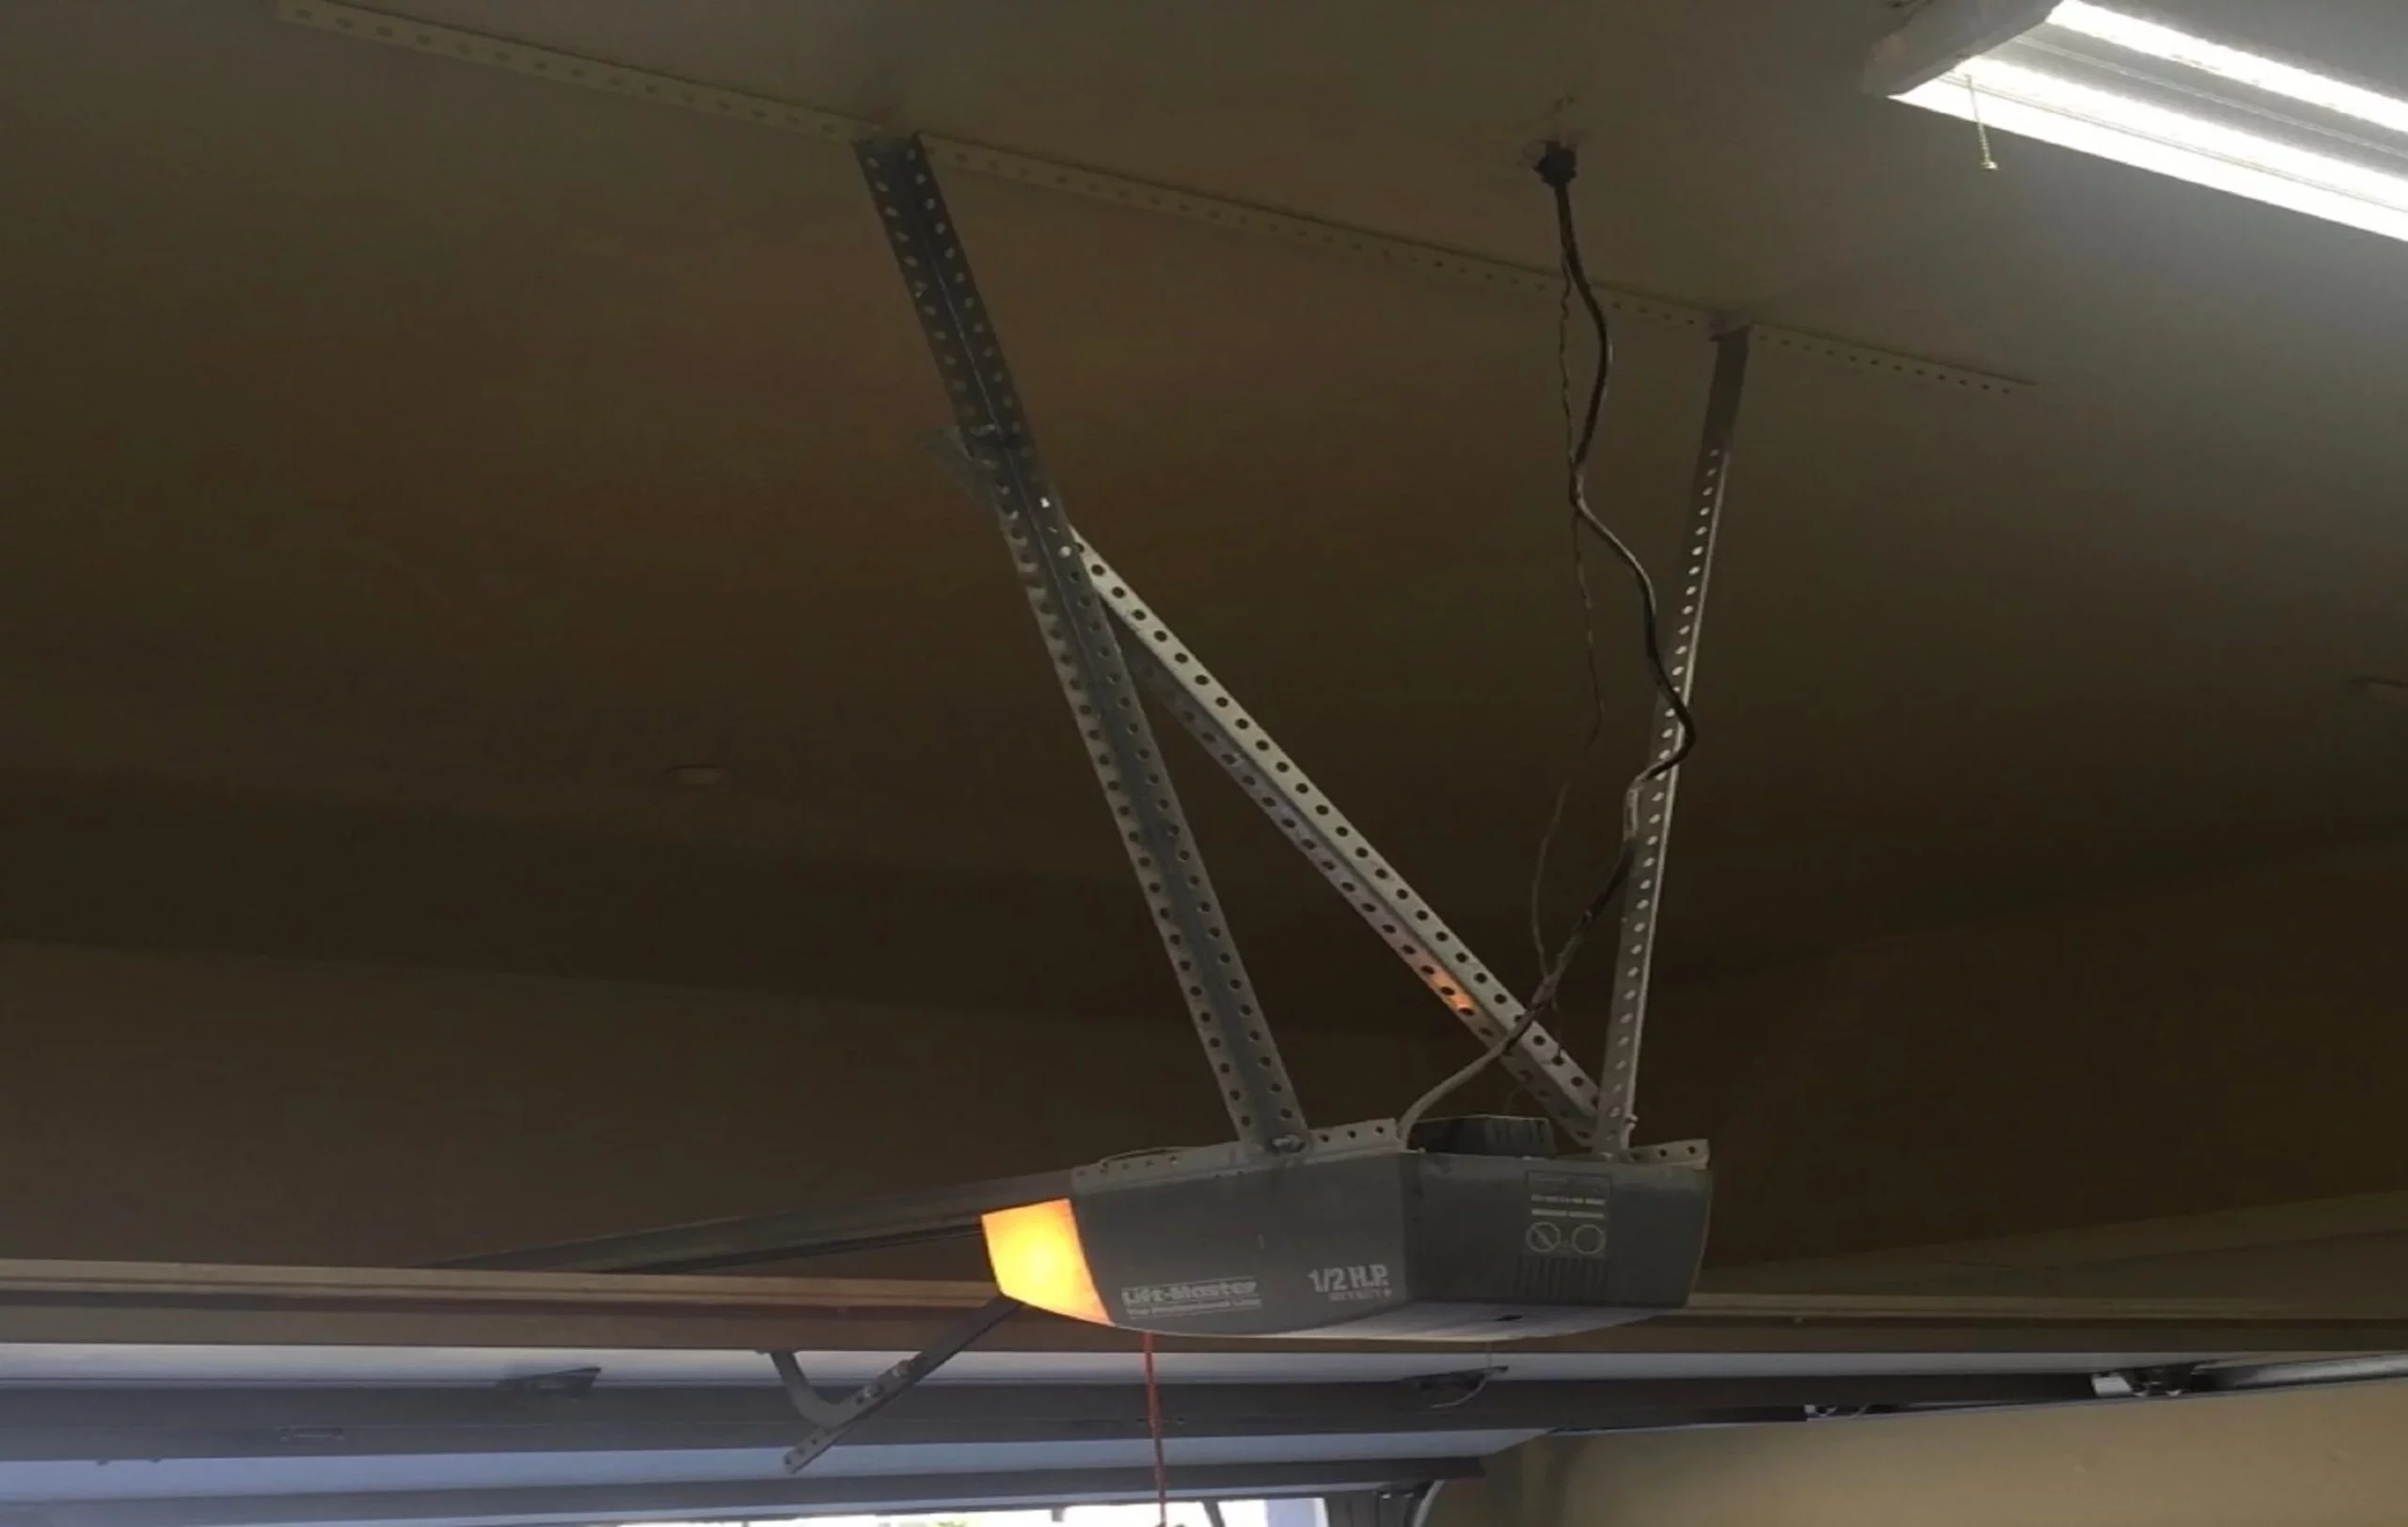
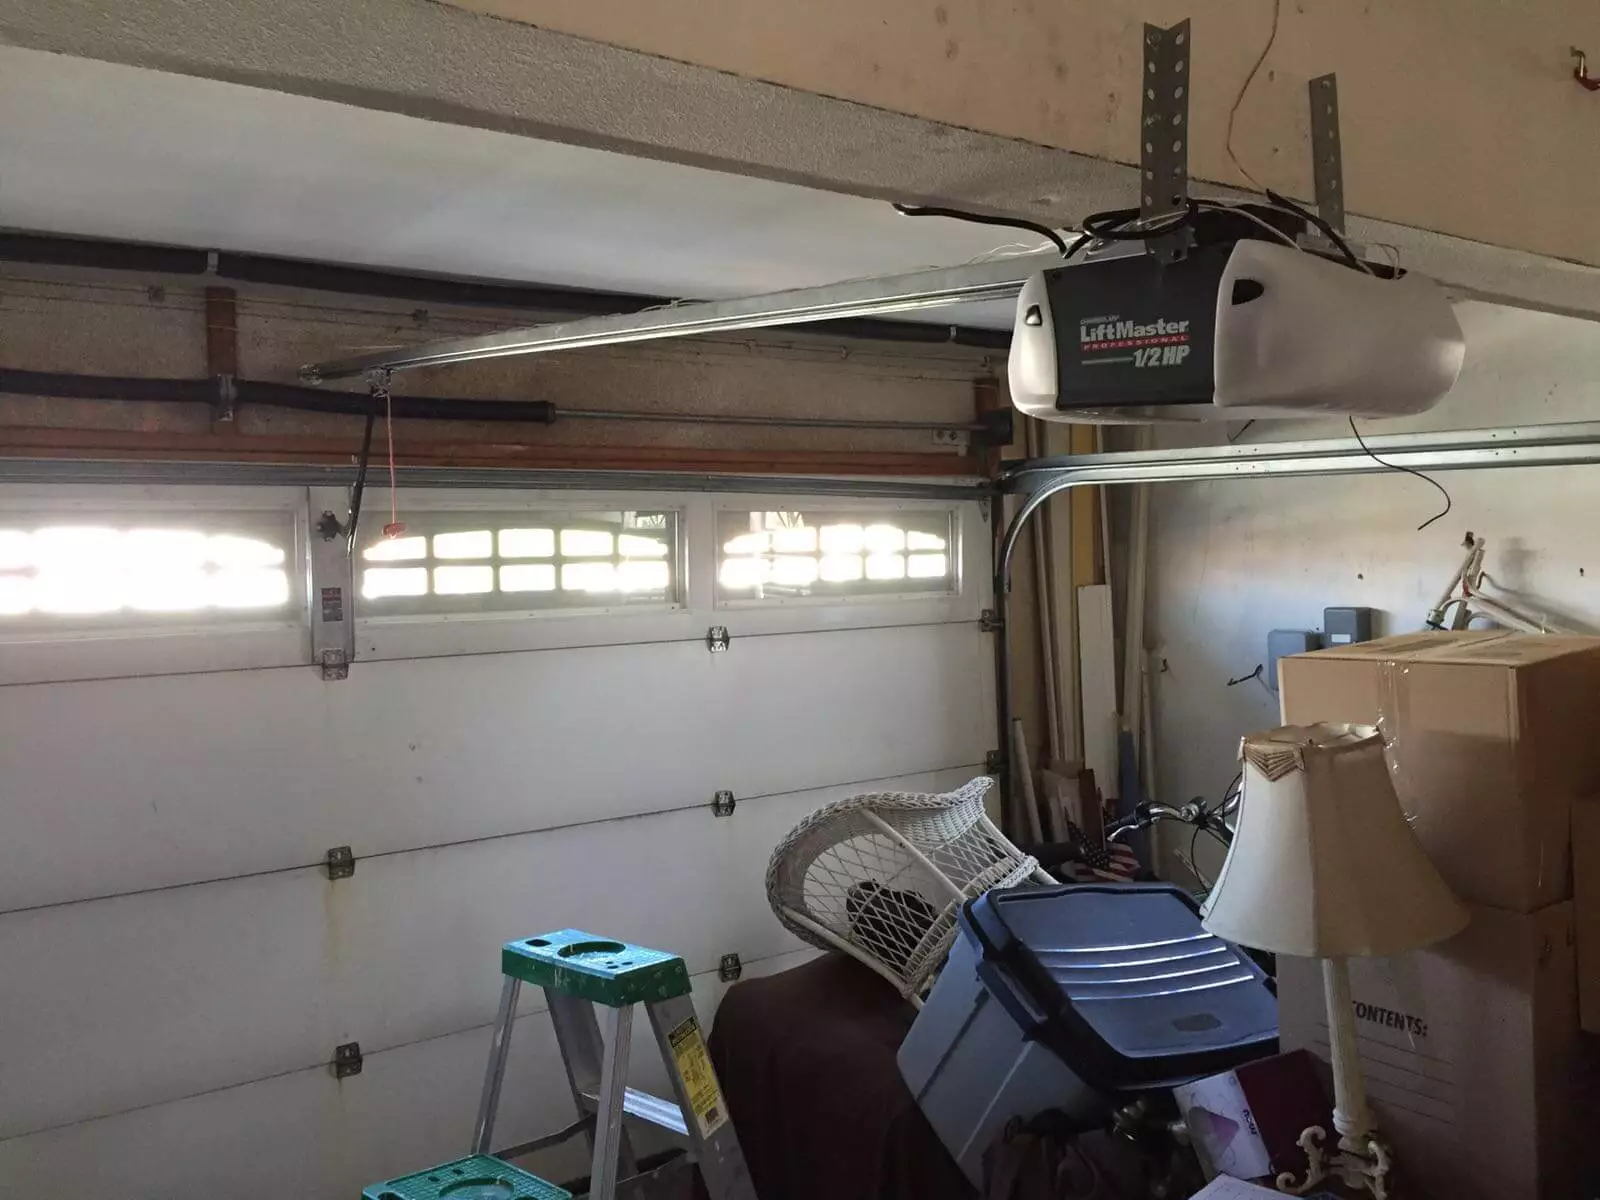
First things first, you’ll need to find the programming button on your Chamberlain garage door opener unit. This button is the gateway to syncing your opener with your remote control. You’ll typically find it near the LED indicator lights or on the back panel of the unit. Once located, give it a quick press – that’s your ticket to a seamlessly programmed opener.
Syncing Your Remote Control
Now, let’s tackle that remote control. Hold it within a foot of your garage door opener and press the button you want to program. Keep an eye on the LED lights on the opener unit – they’ll flash to let you know it’s in programming mode. Once you see the lights flashing, press and hold the button on your remote until the lights on the opener unit stop flashing. Voilà! Your remote and opener are now in sync.
Setting Up Additional Remotes
Need to program more than one remote? No problem. Simply repeat the same process for each remote control you want to add. Press the button on the remote, watch for the flashing LED lights, and hold the remote button until the lights stop flashing. It’s as easy as one, two, three.
Testing, Testing, 1-2-3
Now that you’ve programmed your remote control, it’s time for the moment of truth. Stand back, give yourself a high-five (or not), and press the button on your remote. Watch in awe as your Chamberlain garage door opener smoothly springs into action, welcoming you with open… well, you know.
Garage Door Opener Repair in Chester
If, by any chance, you encounter any hiccups during the programming process or your garage door opener isn’t behaving as it should, don’t fret. Professional help is just a click away. For expert Garage Door Opener Repair in Chester, contact our skilled technicians who are ready to get your garage door back on track.
In Conclusion
And there you have it – a step-by-step guide to programming your Chamberlain garage door opener. With a little know-how and a dash of patience, you’ve taken the reins of your garage’s destiny. No more guessing games or frustrating moments – just smooth, effortless access with a button click. Enjoy the newfound convenience; remember, you’re the master of your garage domain!
FAQs
Can I program my Chamberlain opener with a wireless keypad?
Yes, you can program your Chamberlain garage door opener with a wireless keypad. Most Chamberlain garage door openers are compatible with wireless keypads that allow you to conveniently access your garage without a remote control. To program the wireless keypad, follow these steps:
Locate the “Learn” or “Program” button on your Chamberlain garage door opener. This button is usually found on the main unit near the LED lights.
Press and release the “Learn” button. The LED lights on the opener should now be blinking.
On the wireless keypad, enter the PIN code that you want to use to access the garage.
Press the “Enter” or “OK” button on the keypad.
Wait for the LED lights on the opener to stop blinking. This indicates that the keypad has been successfully programmed.
Test the keypad by entering your newly programmed PIN code and pressing the “Enter” or “OK” button. The garage door should respond and open or close accordingly.
Remember that specific Chamberlain models might have slight variations in the programming process, so it’s always a good idea to refer to your garage door opener’s manual for precise instructions.
How do I change the code for my Chamberlain garage door opener?
Changing the code for your Chamberlain garage door opener is a straightforward process. This can be especially useful if you want to update your security settings or if you’ve recently moved into a new home. Here’s how you can change the code:
Locate the wireless keypad or wall control panel where you currently enter the code to operate the garage door.
Enter the current PIN code to unlock the system.
Find the “Program” or “Learn” button on your Chamberlain garage door opener. This button is typically on the main unit near the LED lights.
Press and hold the “Program” or “Learn” button until the LED lights on the opener start flashing. This usually takes a few seconds.
While the LED lights are flashing, enter the new PIN code that you want to set using the keypad or wall control panel.
Press the “Enter” or “OK” button to confirm the new code.
Wait for the LED lights on the opener to stop flashing. This indicates that the new code has been successfully programmed.
Test the new code by entering it and pressing the “Enter” or “OK” button on the keypad or wall control panel. The garage door should respond accordingly.
Always follow the instructions outlined in your Chamberlain garage door opener’s manual for changing the code, as different models might have slight variations in the process.
Social Links: Educatorpages, Classifiedads, Techplanet, Carookee, Livepositively, Party, Activeboard,, Myworldgo, Wakelet, Nasseej, Ourboox, Evolutionscript, Caramellaapp, Zupyak, Geldanlagen-Talk, Organesh

My name is Wilson Michel. I post about home improvement ideas and how to make your home look beautiful and liveable. I hope my posts will help you with your DIY projects!

