How Can You Fix a Broken Garage Door Spring? A Step-by-Step Guide to Restoring Functionality
A broken garage door spring can be a significant inconvenience, leaving your garage door inoperable and your home security compromised. Addressing this issue promptly is crucial. This guide provides detailed steps to help you through the process, ensuring you can perform a DIY garage door fix safely and effectively. We’ll cover essential spring replacement tips and maintenance practices to keep your garage door in top shape.

Content
Understanding the Problem: Why Do Garage Door Springs Break?
Garage door springs are under immense tension, which allows them to lift heavy doors effortlessly. Over time, wear and tear can lead to a broken spring. Regular garage door maintenance can extend the life of your springs, but eventual replacement is often necessary.
Step-by-Step Guide to Fixing a Broken Garage Door Spring
1. Ensure Safety First
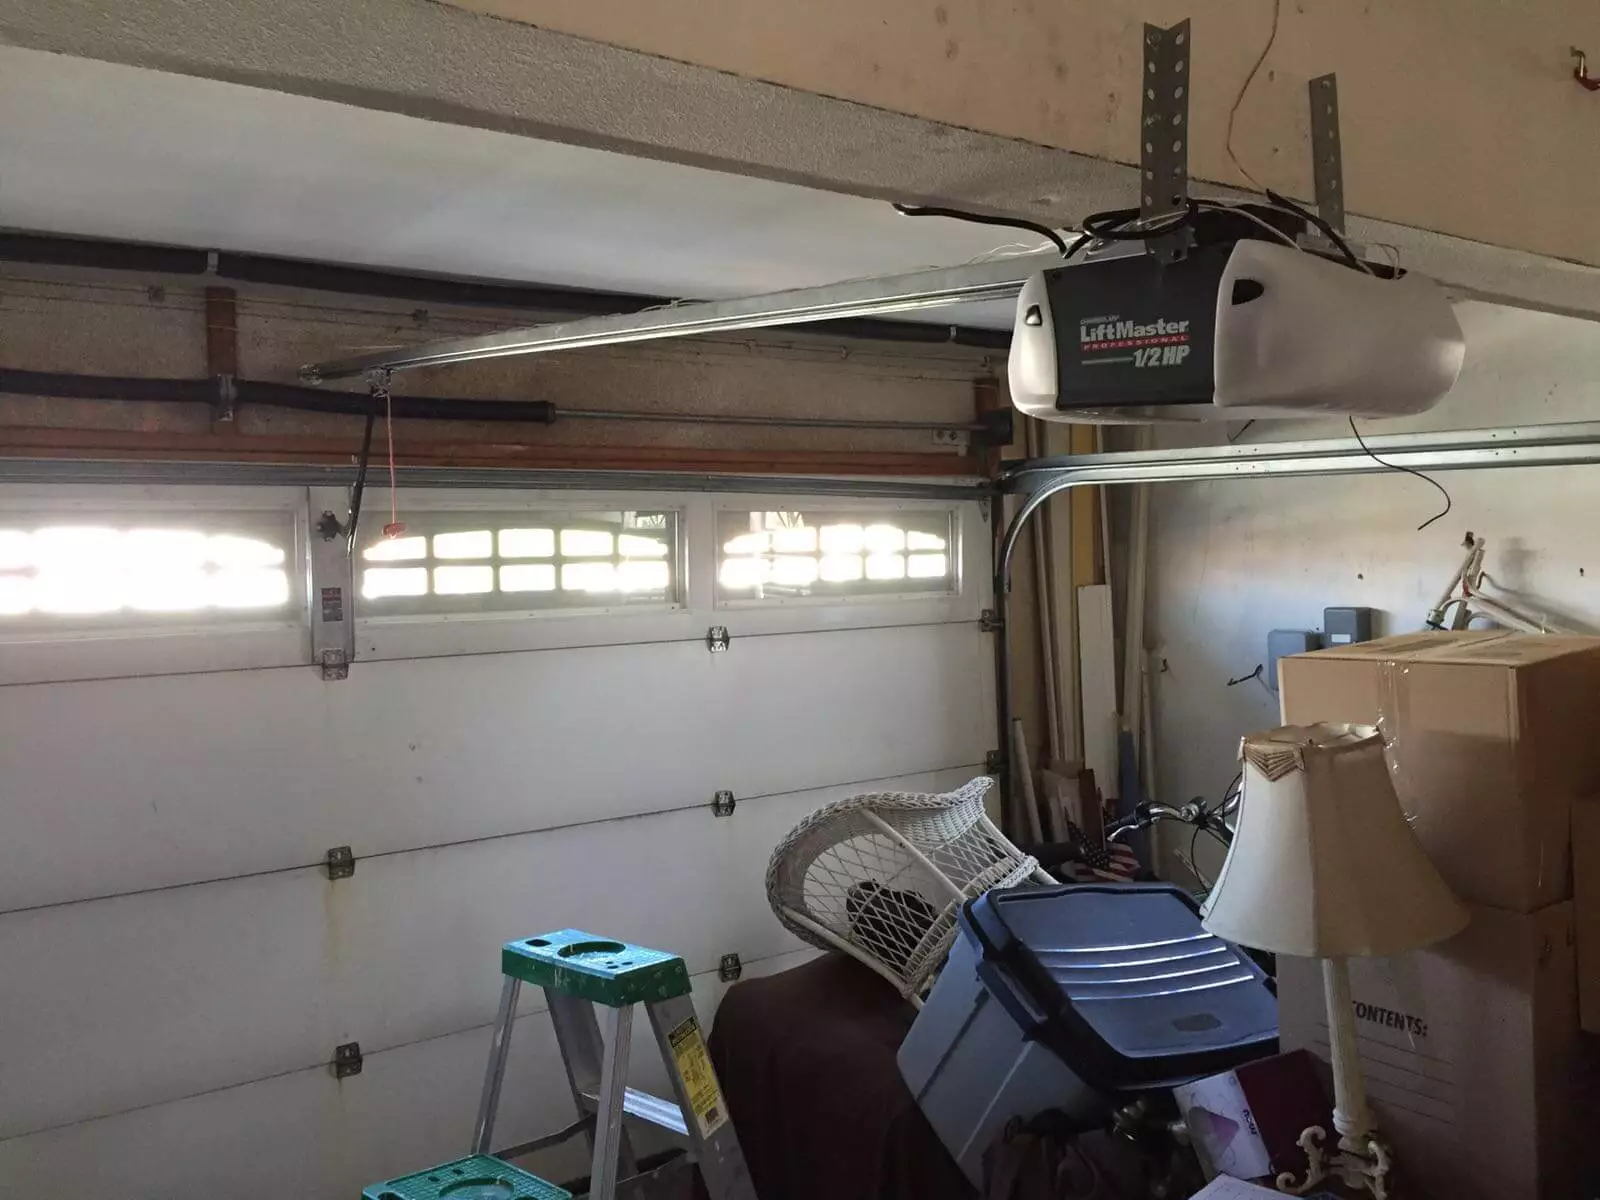
Before you begin any repair work, prioritize safety. Disconnect the garage door opener to prevent accidental activation. Wear safety glasses and gloves to protect yourself from any sudden releases of tension.
2. Identify the Type of Spring
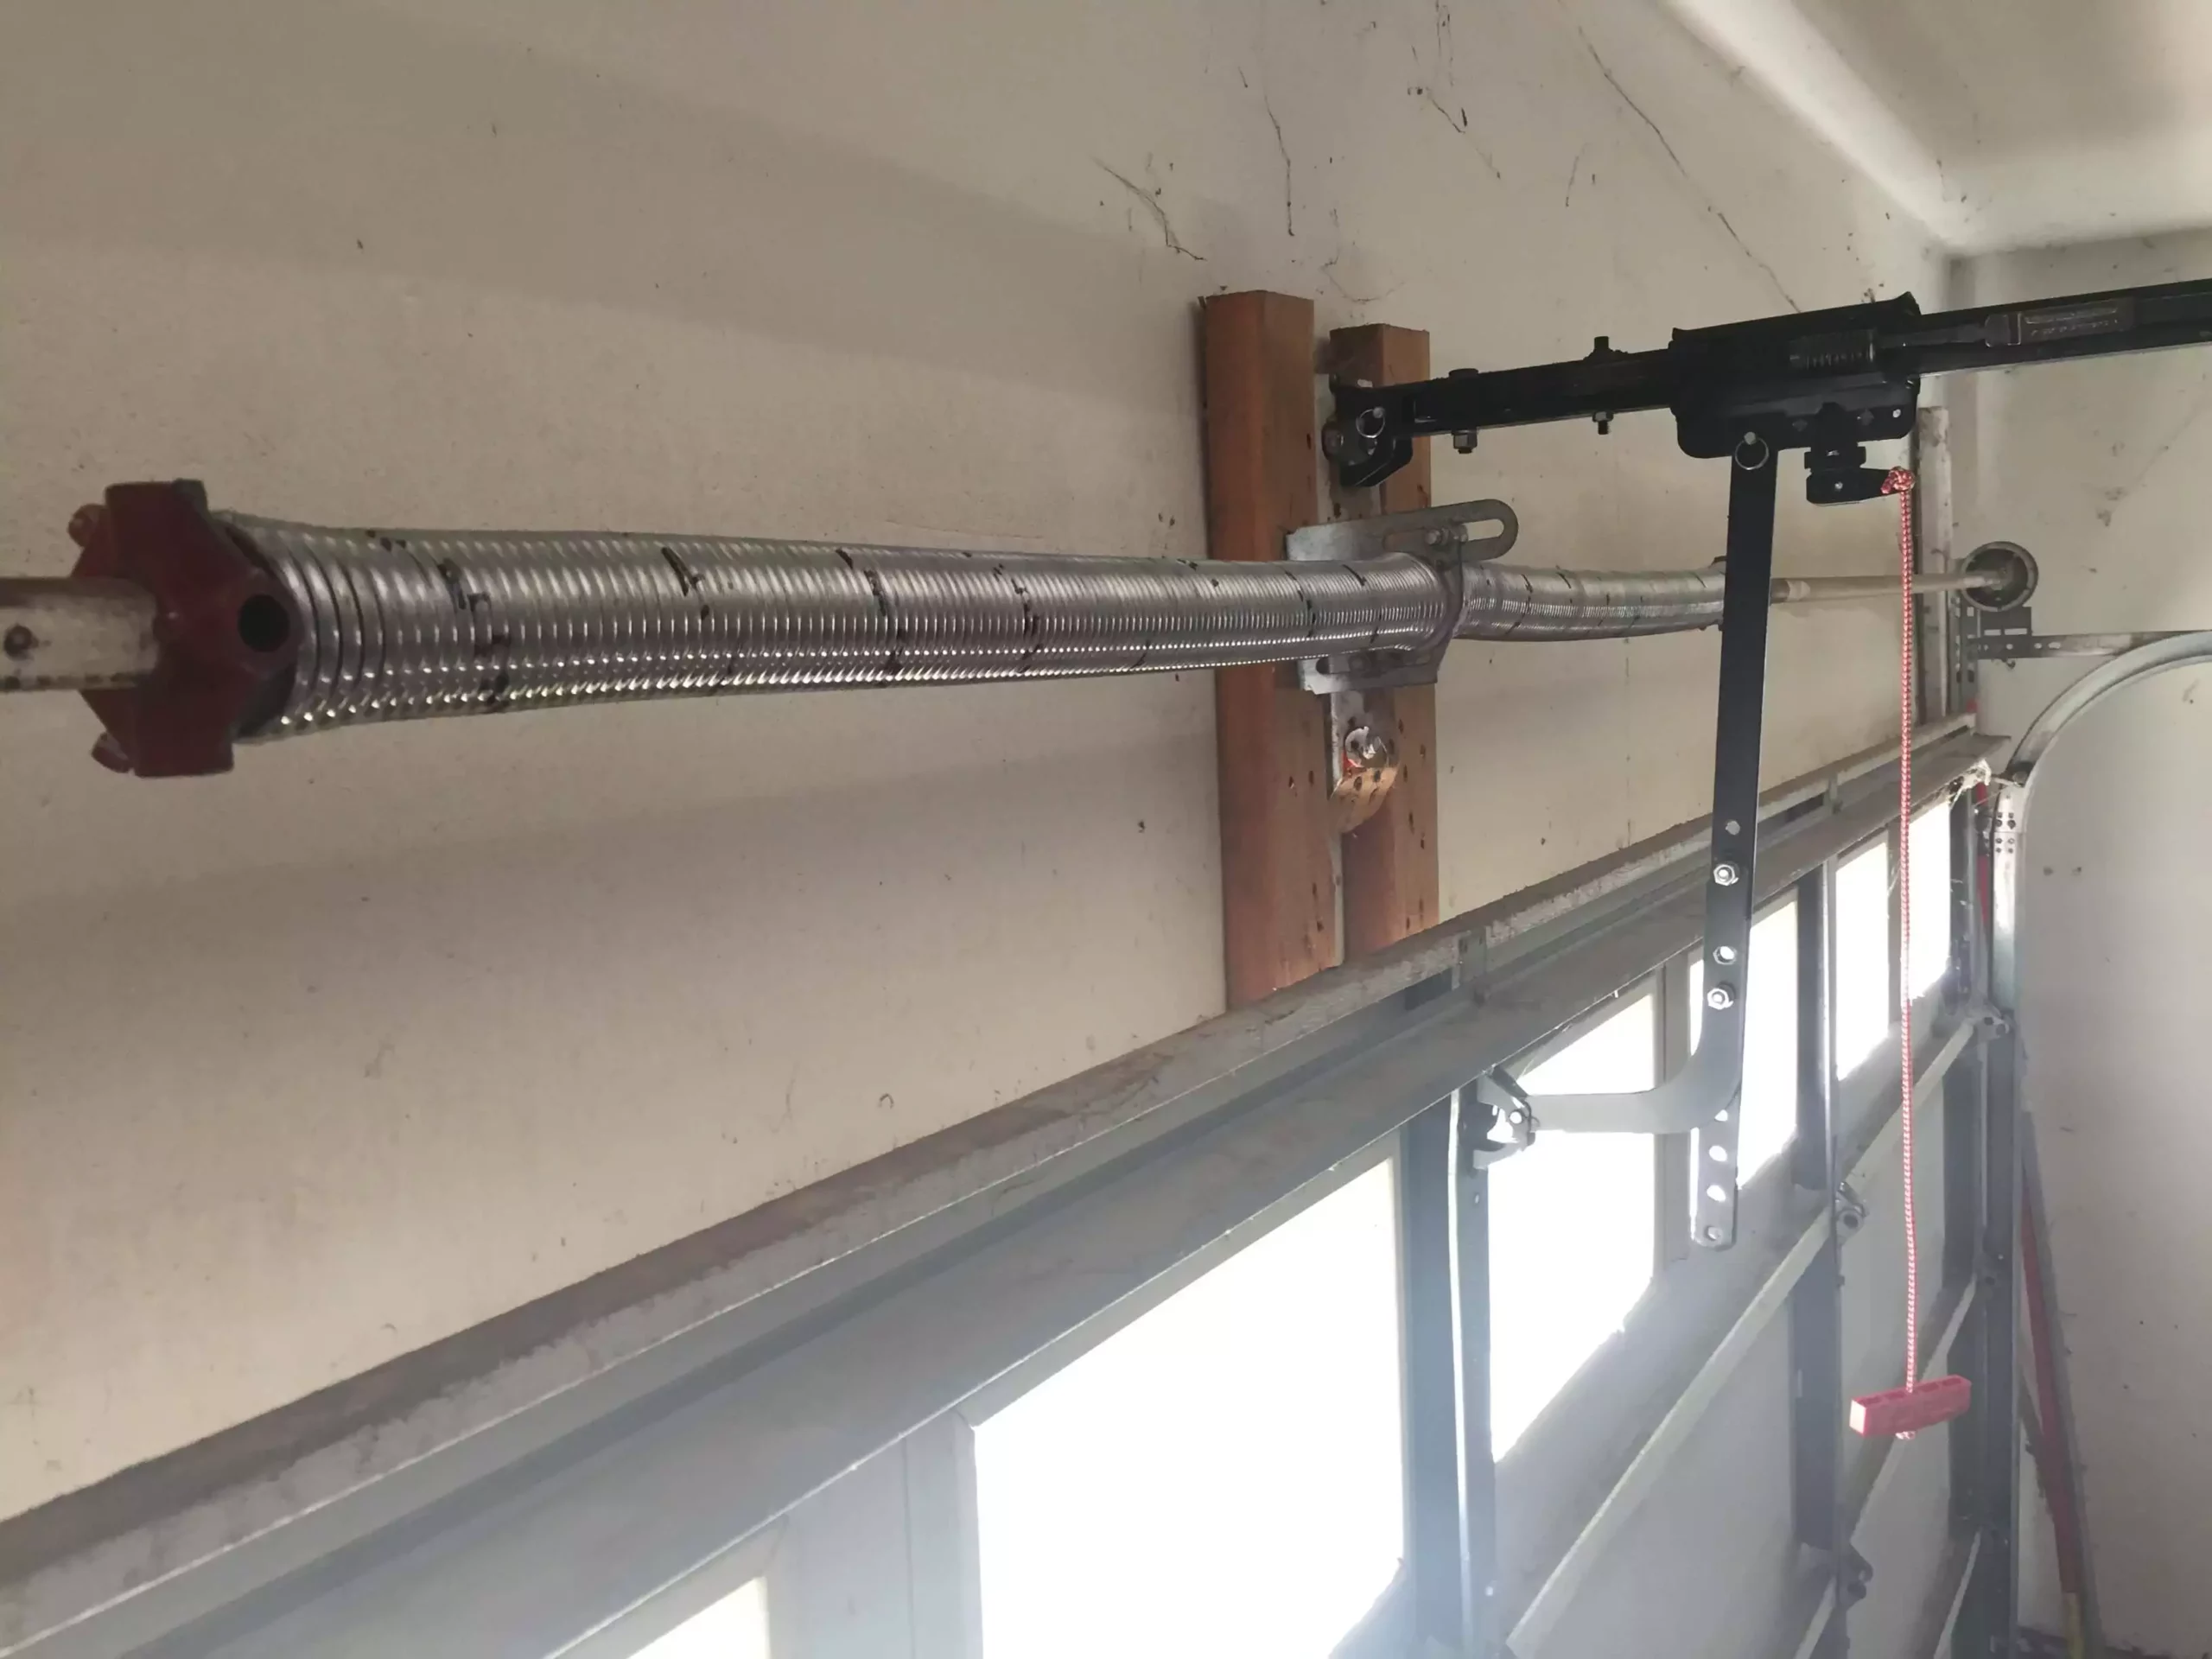
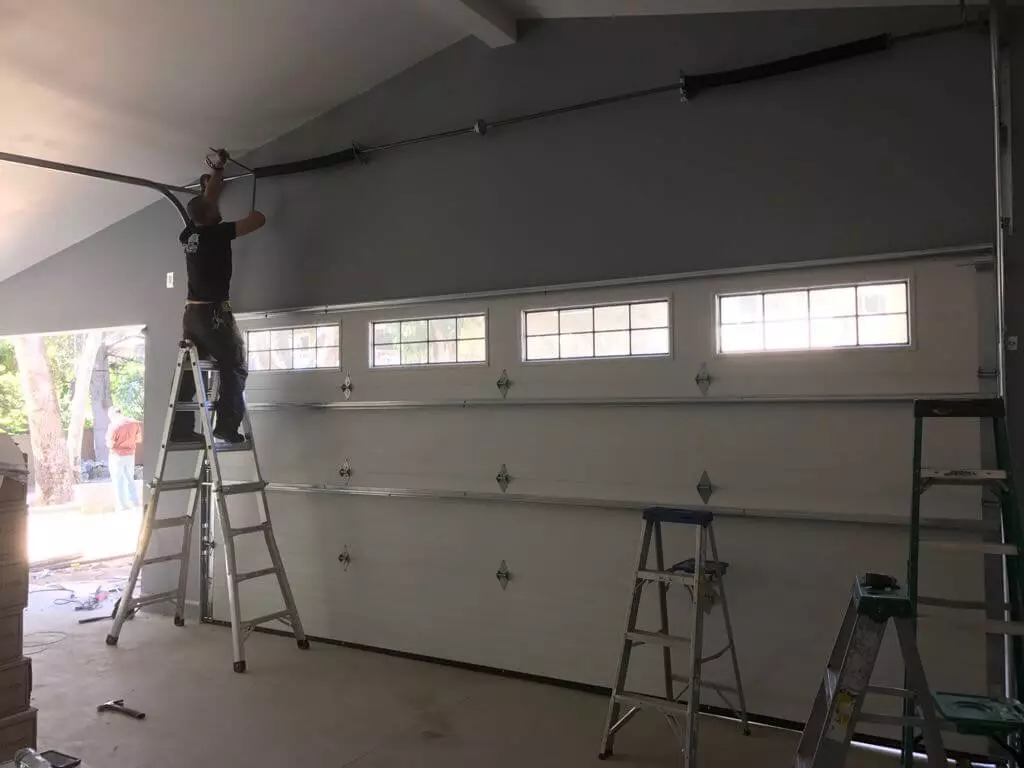
Garage doors typically use two types of springs: torsion and extension. Torsion springs are mounted above the door, while extension springs are located on the sides. For this guide, we’ll focus on torsion spring adjustment and replacement.
3. Gather Necessary Tools
You’ll need a winding bar, a wrench, and a ladder. Ensure you have the correct replacement spring by consulting your garage door manual or contacting a professional like Integrity Garage Door Repair for guidance.
4. Release Tension from the Old Spring
Use the winding bar to slowly and carefully release the tension from the broken spring. Insert the winding bar into the winding cone and turn it counterclockwise, one quarter turn at a time. This step is crucial to avoid injury.
5. Remove the Broken Spring
Once the tension is released, use your wrench to loosen and remove the bolts holding the spring in place. Carefully slide the broken spring off the torsion bar.
6. Install the New Spring
Slide the new spring onto the torsion bar and secure it with the bolts you previously removed. Ensure the spring is centered and correctly aligned.
7. Wind the New Spring
Using the winding bar, wind the new spring in the opposite direction you used to unwind the old one. Follow the manufacturer’s specifications for the number of turns needed. This step requires precision to ensure proper tension.
8. Test the Garage Door
Reconnect the garage door opener and test the door to ensure it opens and closes smoothly. Make any necessary adjustments to the spring tension to achieve optimal performance.
When to Call a Professional
While DIY garage door fixes can be cost-effective, they can also be dangerous if not done correctly. If you’re unsure about any step, it’s best to consult a professional. Companies like Integrity Garage Door Repair specialize in garage door spring repair & replacement in Moncks Corner and can ensure the job is done safely and efficiently.
Conclusion
Fixing a broken garage door spring requires careful attention to detail and a commitment to safety. By following these spring replacement tips and maintaining regular garage door maintenance, you can keep your garage door functioning smoothly. However, don’t hesitate to seek professional help for more complex repairs or if you’re unsure about the process.

My name is Wilson Michel. I post about home improvement ideas and how to make your home look beautiful and liveable. I hope my posts will help you with your DIY projects!

