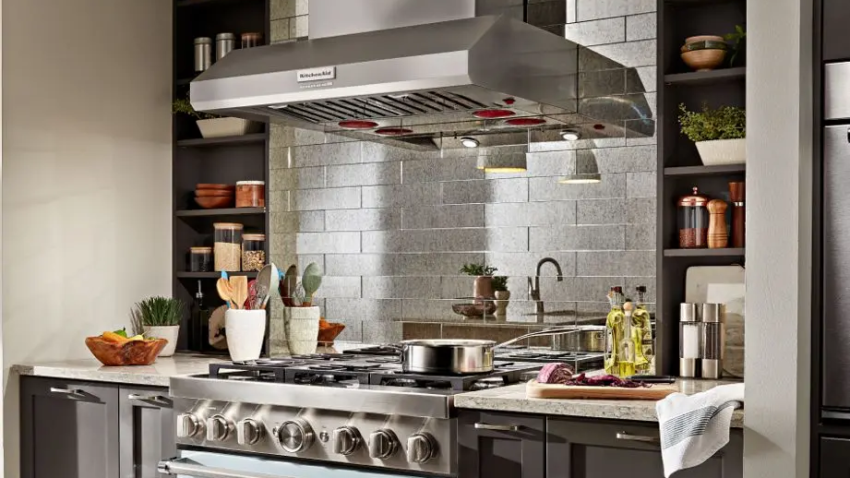
How Do You Choose the Right Range Hood Insert for Your Cooking Space?
When designing or renovating a kitchen, choosing the proper ventilation system is just as crucial as picking your cabinetry or appliances. A high-quality range hood insert can make the dramatic difference between a kitchen that’s comfortable and clean versus one filled with lingering smoke, smells, and grease. In this guide, we’ll walk you through how to select the right range hood insert for your cooking space—taking into account size, airflow, noise, installation, and more.
Content
What Is a Range Hood Insert?
A range hood insert is the “engine” of a ventilation system that gets installed inside a custom enclosure or a hood built into your cabinetry. It’s hidden behind decorative covers or shells but does the heavy lifting of filtering and exhausting air. Unlike full hood units that come with visible housing, an insert gives you flexibility in styling while ensuring proper ventilation.
Step 1: Match the Insert Size to Your Cooktop
The very first consideration is size. Most guides recommend that your insert span nearly the width of your range. A common rule is to make the insert 2 inches narrower than your cooktop so there’s breathing room for installation and airflow.
However, if you do a lot of high-heat cooking, frying, or Asian cuisine, you might oversize the insert slightly for better coverage. Common insert widths include 28″, 34″, 40″, 46″, 52″, and 58″.
Step 2: Decide Between Ducted vs. Ductless (Recirculating)
One of the most important functional decisions is whether to go with a ducted or ductless insert:
- Ducted (vented outside): This is usually the more effective option. It expels smoke, grease, and odors outdoors, keeping indoor air cleaner.
- Ductless / Recirculating: The hood filters the air internally (via charcoal or carbon filters) and returns it to the kitchen. It’s easier to install where ductwork isn’t available, but less efficient at removing particles.
If your kitchen already has existing ductwork, a ducted insert is usually the better option.
Step 3: Calculate Required Airflow (CFM)
CFM (cubic feet per minute) expresses how much air the insert can move. A higher CFM means stronger suction and more effective ventilation. As a general guideline:
- For modest home cooking usage, aim for ~ 600 CFM.
- For heavy cooking, frying, or smoke-intensive styles, consider 1,200 CFM or more.
Don’t forget that airflow performance also depends on duct length, bends, and restrictions—so account for those when sizing.
Step 4: Look at Noise Level (Sones or dB)
A powerful insert is only useful if you can live with its noise. Manufacturing specs often include a “sones” or decibel rating. Lower sones mean quieter operation. Most good inserts balance airflow and noise by using quality motors and sound-dampening designs.
If noise is a priority, look for models with quieter ratings, multiple speed settings, or external blowers (which can move the motor away from the kitchen to reduce sound).
Step 5: Choose Filter Type & Maintenance Ease
Your insert will typically include grease filters (often baffle or stainless steel filters) and possibly carbon filters for odor removal (for ductless units).
Pick inserts where filters are easy to remove, clean, or replace. Since grease and grime accumulate over time, easy maintenance keeps your system effective.
Step 6: Inline or Local Blower Option
Blowers can be local (inside the insert) or inline (installed in the ductwork away from the hood). Inline blowers tend to reduce kitchen noise but can cost more and require more complex duct planning.
Check whether your insert supports both options—this flexibility can matter depending on ceiling height and duct layout.
Step 7: Lighting, Controls & Features
Modern inserts often include built-in lighting (LED or halogen), variable speed controls, dimmers, and sometimes smart features.
Lighting quality may not make or break your choice, but efficient LED lights and clear control panels contribute to user satisfaction.
Step 8: Installation & Cabinet Integration
Because range hood inserts are hidden inside a custom or decorative hood, you’ll need to plan the cabinetry or enclosure accordingly. The insert needs proper support, ventilation clearance, and wiring access.
Measure carefully before cutting. Many experts suggest cutting the opening slightly smaller initially, test-fitting the insert, and then fine-tuning the opening.
If you’re not experienced with electrical or ducting work, consider hiring a qualified installer to ensure safety and performance.
Final Thoughts
When selecting a range hood insert, it’s important to find the right balance between style and function. A well-designed insert should seamlessly fit your cooktop, provide powerful airflow, operate quietly, and blend effortlessly into your cabinetry. By paying attention to key features such as CFM, noise levels, filters, and blower options, you can ensure your kitchen stays fresh and free from lingering smoke or odors. At Futuryhome, you’ll find high-quality range hood inserts that deliver reliable performance without compromising on design—perfect for creating a clean, comfortable cooking environment.

My name is Wilson Michel. I post about home improvement ideas and how to make your home look beautiful and liveable. I hope my posts will help you with your DIY projects!





Leave a Reply